How to Create a Play
Welcome developers! We are as excited as you are to know that you are going to create a new play. It is super easy to get started.
Note: The steps below assumes that you have forked and cloned the react-play repository. Also, you have installed the dependencies using the
npm installoryarn installcommand. If you are new to forking, please watch this YouTube Guide to get started.
Run the application using
yarn start

or

npm run start
If you face dependency issues, then try running this command:
npm install --legacy-peer-depsYou might check the README file for more details.
You should be able to access the application on http://localhost:3000
Click on
Createbutton.
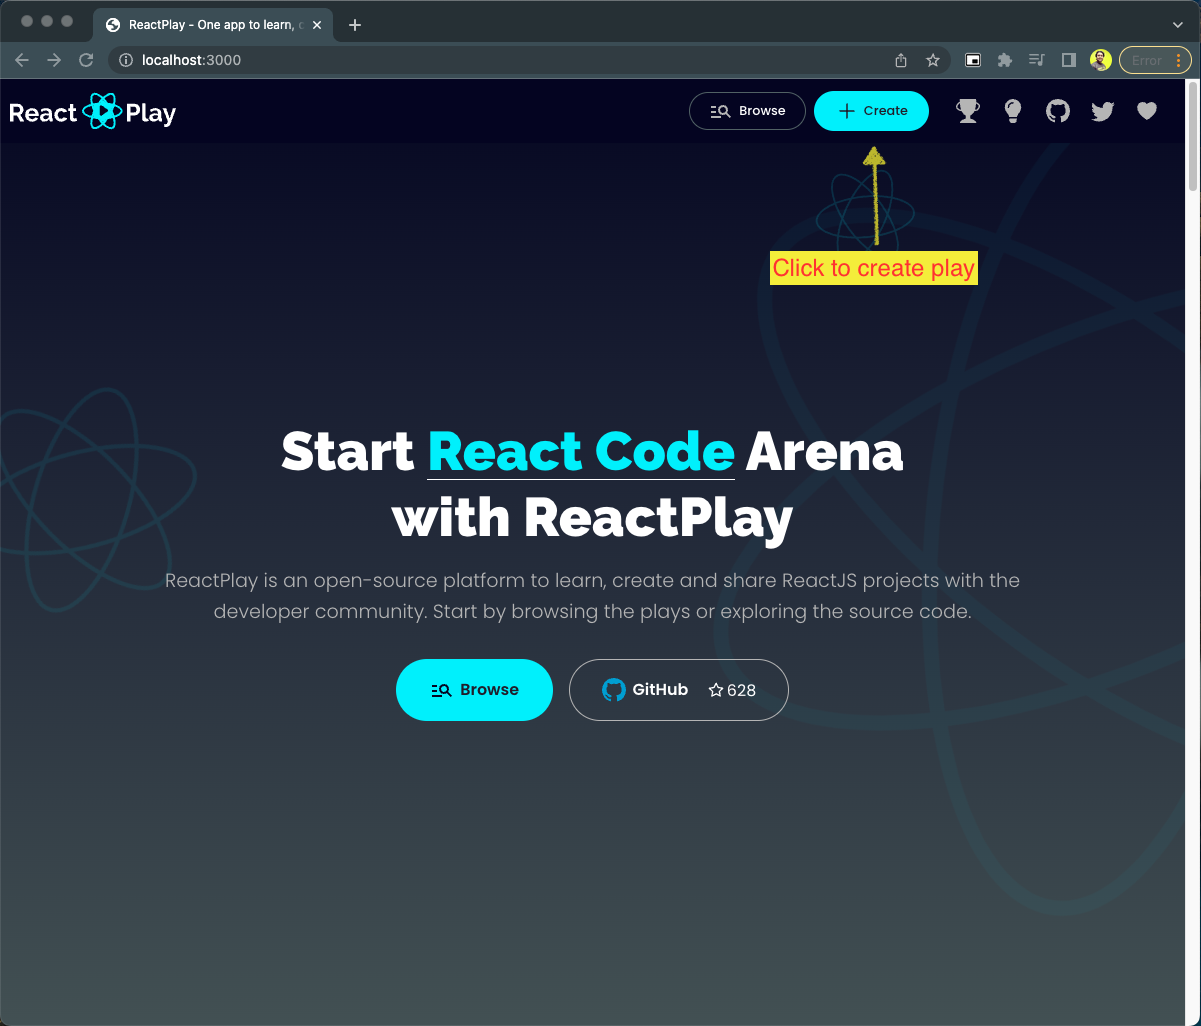
- The application will try to authenticate you
- If you are NOT already logged in with
NHost, you will be prompted to give permission- Log in with your GitHub account
- Fill the information and submit.

Parameter details
| Field | Mandatory? | Description |
|---|---|---|
| Name | YES | Every play should have a name that is relatable to the play's idea. |
| Description | YES | It is a description of the play for users to understand it better. The maximum number of allowed characters is 1024. |
| Issue | YES | Every play should be mapped with an issue. Select it here. |
| Language | YES | Let the application know your choice of script. It supports both JavaScript and TypeScript. You can pick either of it. |
| Style | NO | Let the application know your choice of style. It supports both css and scss. You can pick either of it. |
| Level | YES | You will be asked to select one of the three levels, Beginner, Intermediate, or Advanced. Please select a level for the play. A level indicates the possible complexity of developing the play using React. |
| Github Username | YES | Provide your GitHub user name to mark you as the creator of the play. |
| Tags | NO | Please provide comma-separated list of tags. Example: JSX, Hooks |
| Cover Image URL | NO | A cover image is used to show your play with a thumbnail in the play list page. Please provide a link to a cover image that is publicly accessible using a URL, example: https://res.cloudinary.com/reactplay/image/upload/v1649060528/demos/id-card_pdvyvz.png. Alternatively, you can have a cover.png file in the root of your play folder. If you don't have a cover image, the app will use the default cover image. |
| Blog URL | NO | If you have written an article about this play, please provide the link to your blog article page. |
| Video | NO | If you have created a video tutorial about this play, please provide the link to your YouTube video. |
- On successfull submission, you will be redirected to a page where it will prompt you with the
play_id
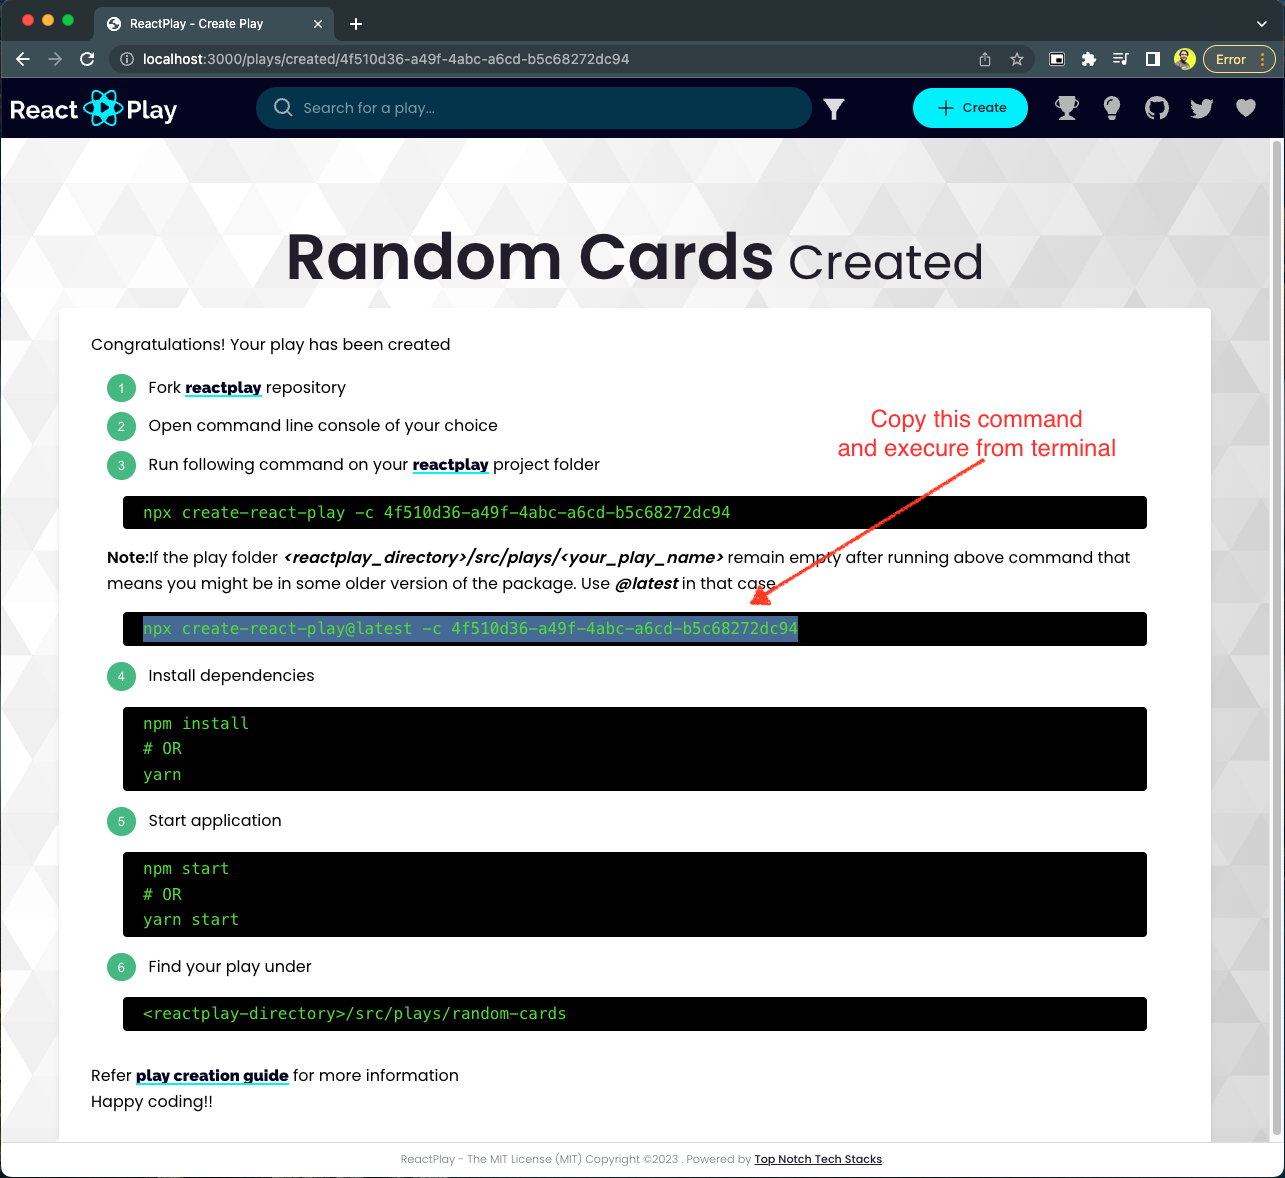
Stop your application
Navigate to the root of the reactplay
Run following command
npx create-react-play -c <the_play_id>Note: If the play folder
<reactplay_directory>/src/plays/<your_play_name>remain empty after running above command that means you might be in some older version of the package. Use@latestin that case.npx create-react-play@latest -c <the_play_id>
Start the application
yarn start

or

npm run start
You should now see your play added to the play list page.
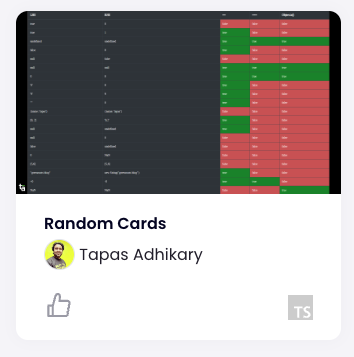
You can click on the play thumbnail to see the details of the play.
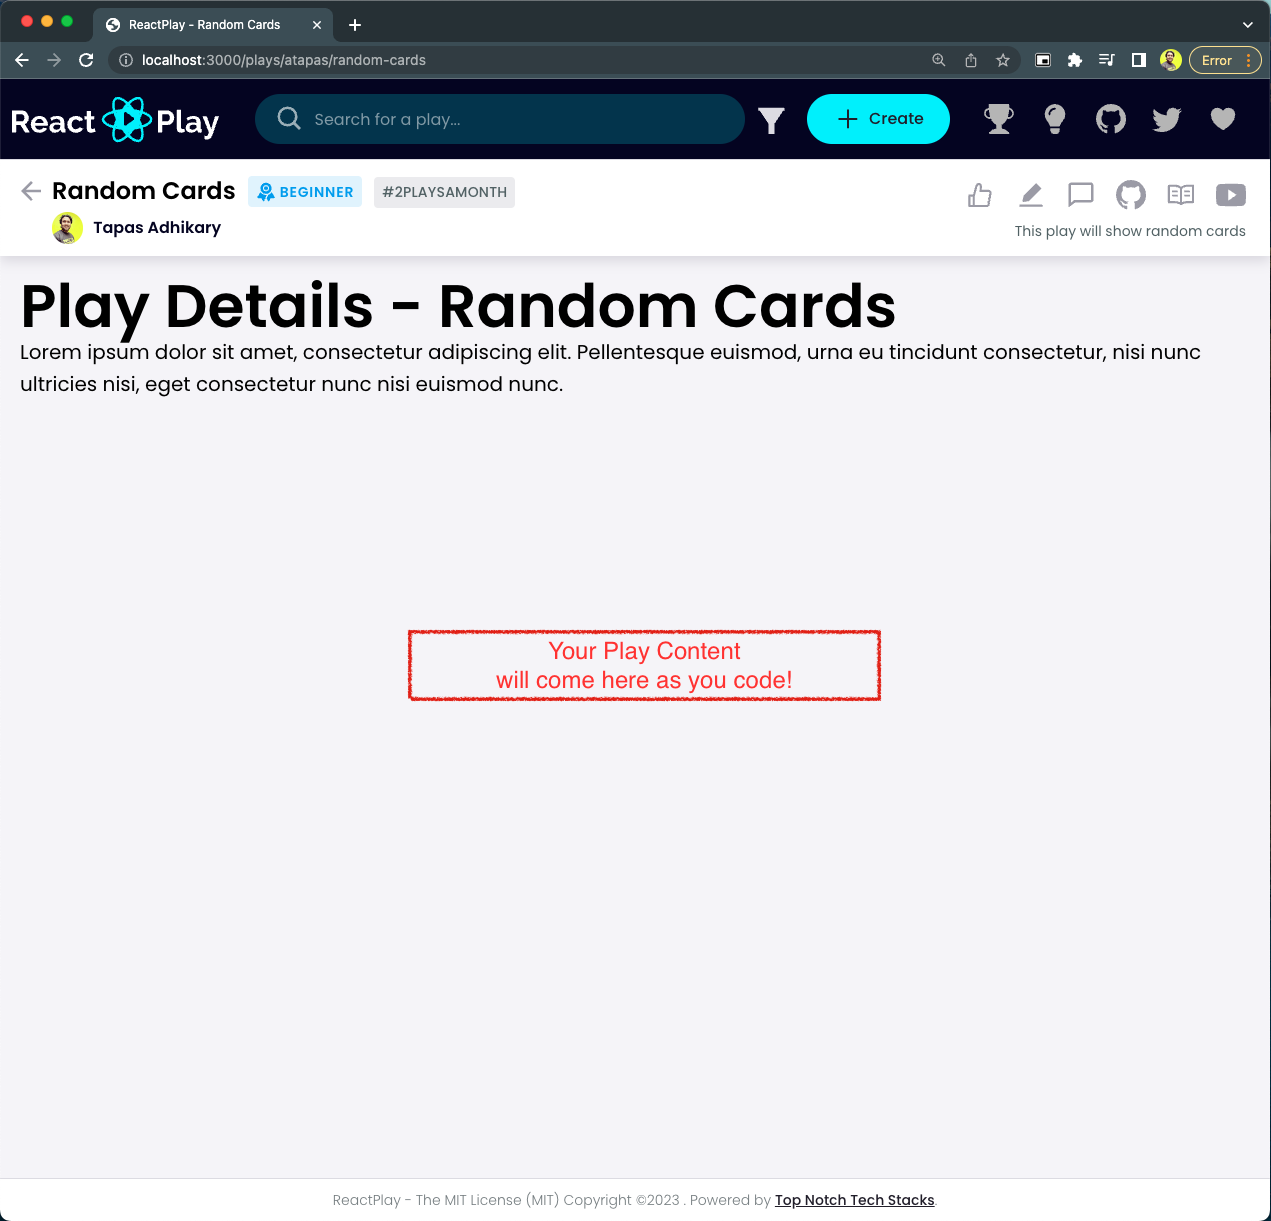
And you will notice a directory created for your play under
./src/plays/<your_play_name>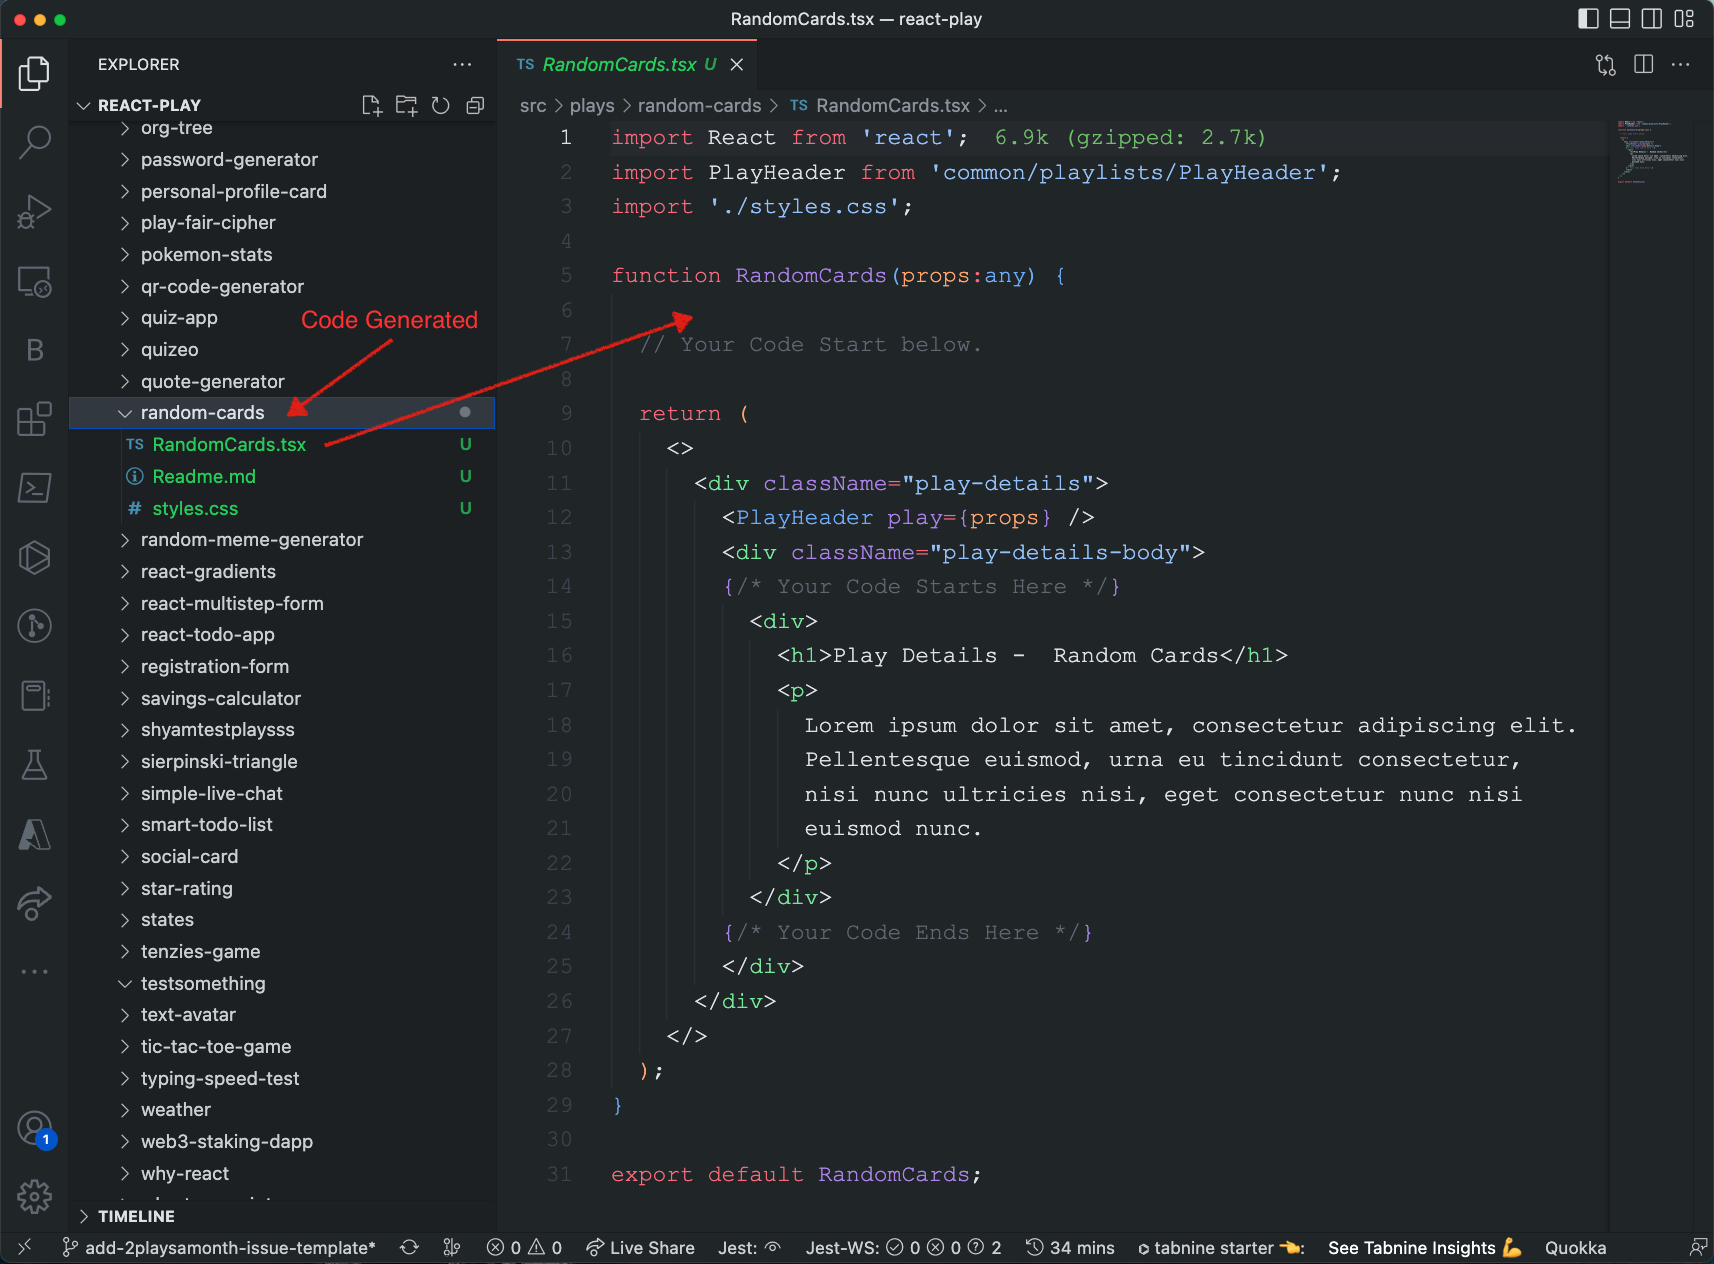
Continue developing your play. Happy coding.
👀 Submitting a Play for Review
After you done with coding for your Play, you can submit it for review. Submitting a Play for review is a two step process.
- Create a Pull Request on the react-play repository with your changes.
- Dedicate some time in a week to take care of the review comments.
Once the Pull Request is approved and merged, we will notify you and add you as a Contributor to the react-play project.
✋ Need Help?
You can reach out to us at ReactPlay Twitter Handle | @ReactPlayIO with a DM. Additionally, feel free to join our Discord community for discussions.